
After successfully syncing your Stripe and HubSpot accounts using sass•hapily (formerly Zaybra), you might find yourself in a situation where you need to send a quote to a client after closing a deal.
While you can easily add HubSpot products to the quote, the real magic happens when it automatically syncs with your Stripe account upon payment.
This is where sass•hapily's custom quote feature comes into play! This seamless integration ensures that any purchase made by your client reflects in your Stripe account without any manual effort.
To make this happen, all you need to do is map your Stripe products with your HubSpot products.
How do you map your Stripe products to HubSpot using sass•hapily?
With sass•hapily, this is a really easy process. Once you’ve recreated your Stripe Products in HubSpot, all that’s left is to do a bit of matchmaking in your hapily portal.1. Start by logging into the hapily portal here.
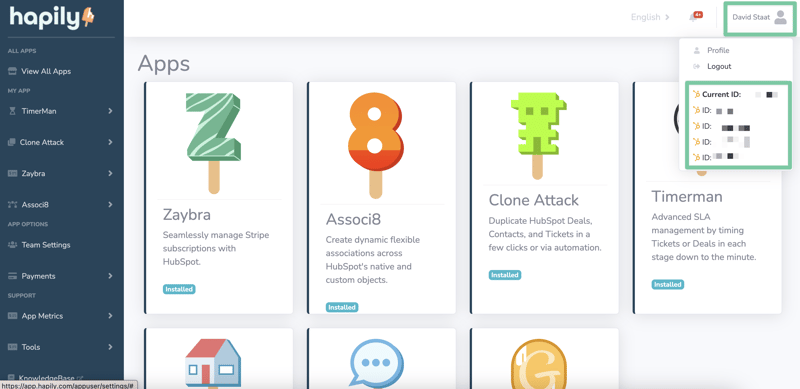
2. If you have multiple HubSpot portals, you’ll want to make sure you’re viewing the correct one by clicking your name in the upper right corner and selecting from the drop down list.
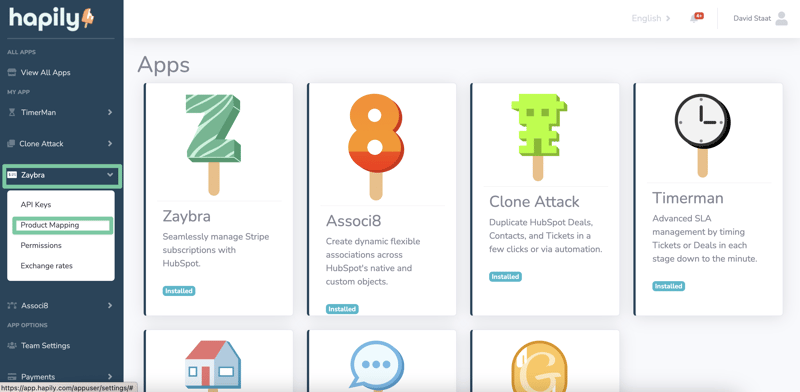
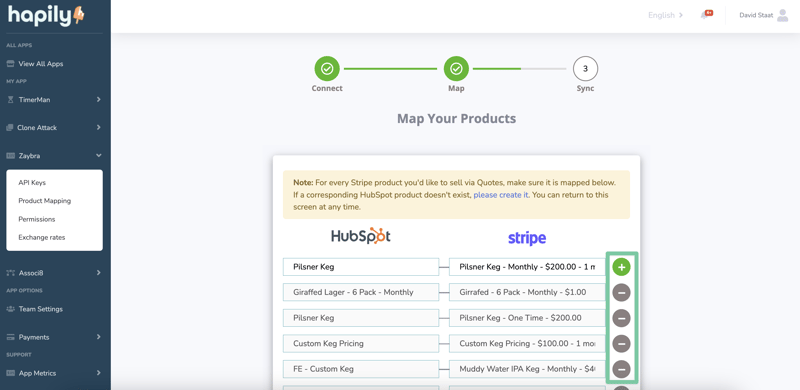
3. Hover to the left hand sidebar and click sass•hapily > Product Mapping.
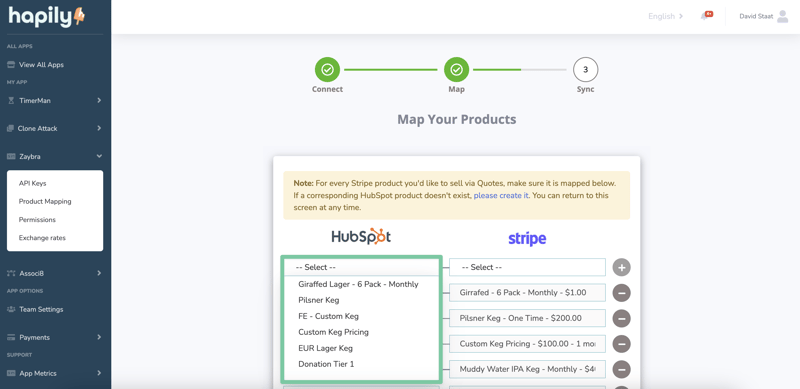
4. From here, you’ll see the list of all currently mapped products (if any). In the HubSpot column, click the empty box and select the product you want to map over to Stripe.
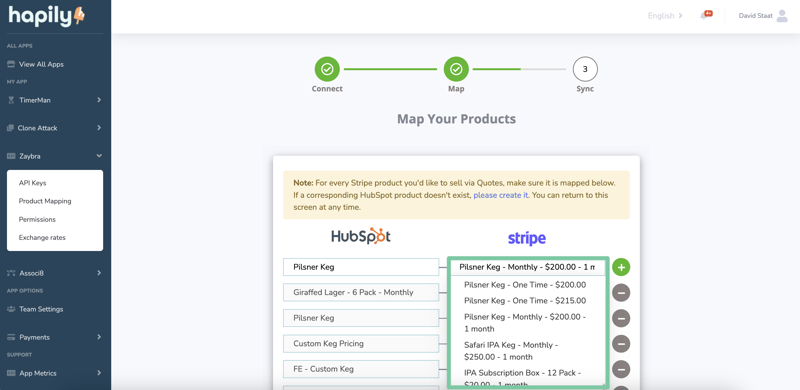
5. In the corresponding box in the Stripe column, select the matching product from your Stripe account! Keep in mind, sass•hapily syncs all of the different billing frequencies as separate products.
For example, a weekly subscription to "Awesome Blog Posts Magazine" would be a separate product from a monthly subscription to that same magazine. So make sure you create a HubSpot product for each of them.
6. After the columns are matched up, hit the green “ +” button on the right side of the product. You can also remove products by clicking the “ -” button next to a product if you’d like.
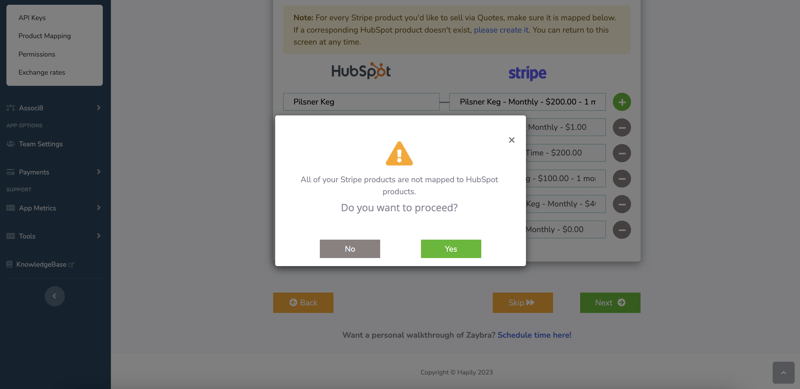
7. After you’ve added all of your products, scroll down to the bottom of the page and click Next. You may be greeted with the message in the screenshot below. If you have more Stripe products to map, go ahead and do so. If not, just click Yes.
And now your Stripe products have been successfully mapped to your HubSpot! Let’s see what this does.
How do you use the sass•hapily custom quote?
You’re all set to start using the sass•hapily custom quote at this point. But just show you the results of your handiwork, I’ll walk you through the process. For the purposes of this example, I created a deal called Your Awesome Products (That’s right! I know your products are awesome).
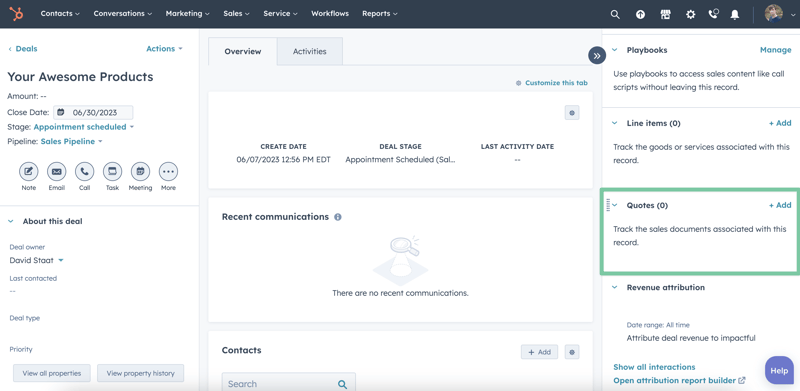
1. Start by opening up the deal record.
2. On the right hand sidebar, scroll down until you see the Quotes section and then click Add.
3. Now you’ll be on the Quote Details page. Select the sass•hapily Custom Quote under the Quote template field and fill out any other information your client will need. Then click Next.

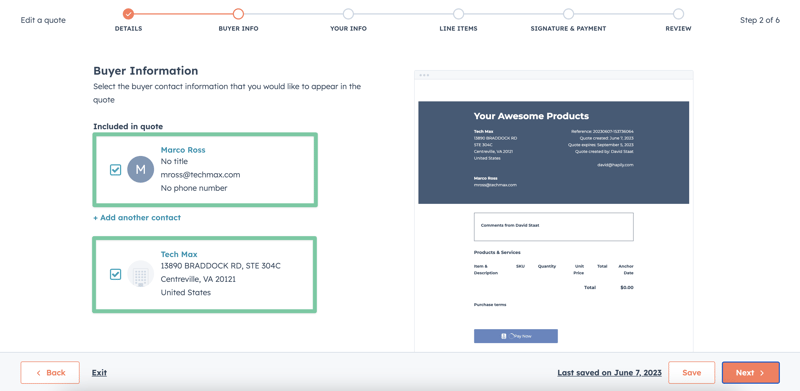
4. On the Buyer Info page, select which associated contacts or companies to include on the quote and click Next.
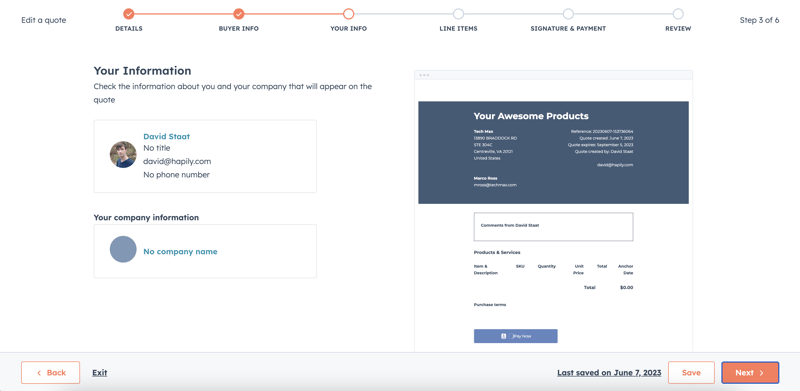
5. On the Your Info page, check the info about you and your company that will appear on the quote and click Next.
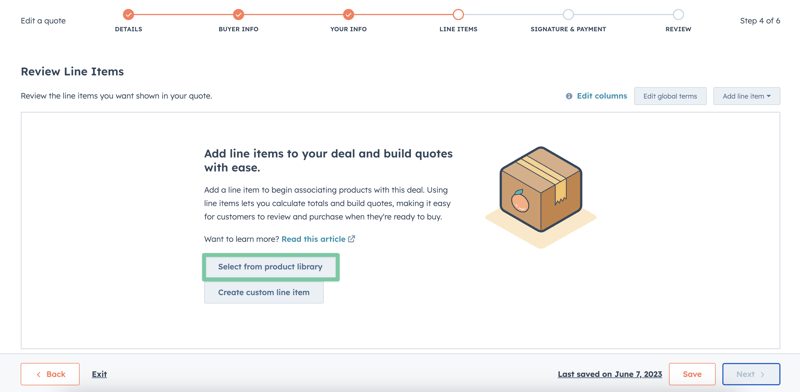
6. On the Line Items page, click Select from product library .
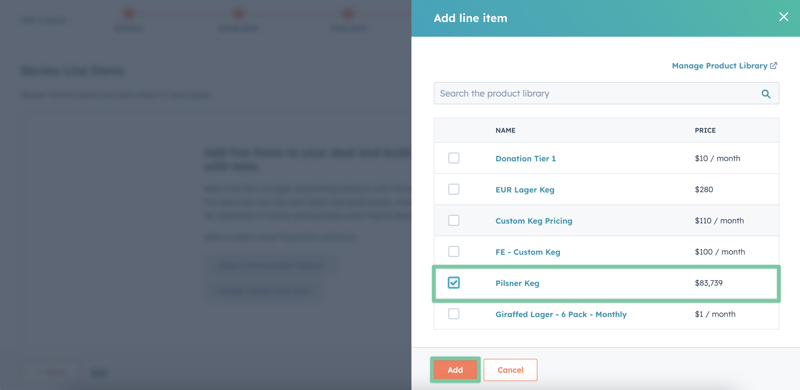
7. Check the boxes next to the products you want associated to the deal and click Add . Then click Next.
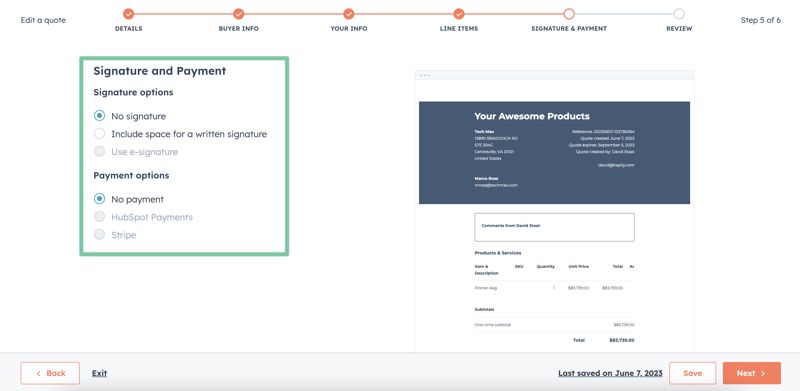
8. On the Signature and Payment page, leave No signature and No payment filled in. The Zaybra custom quote handles these fields differently than a regular quote so there’s no need to do anything here. Click Next.
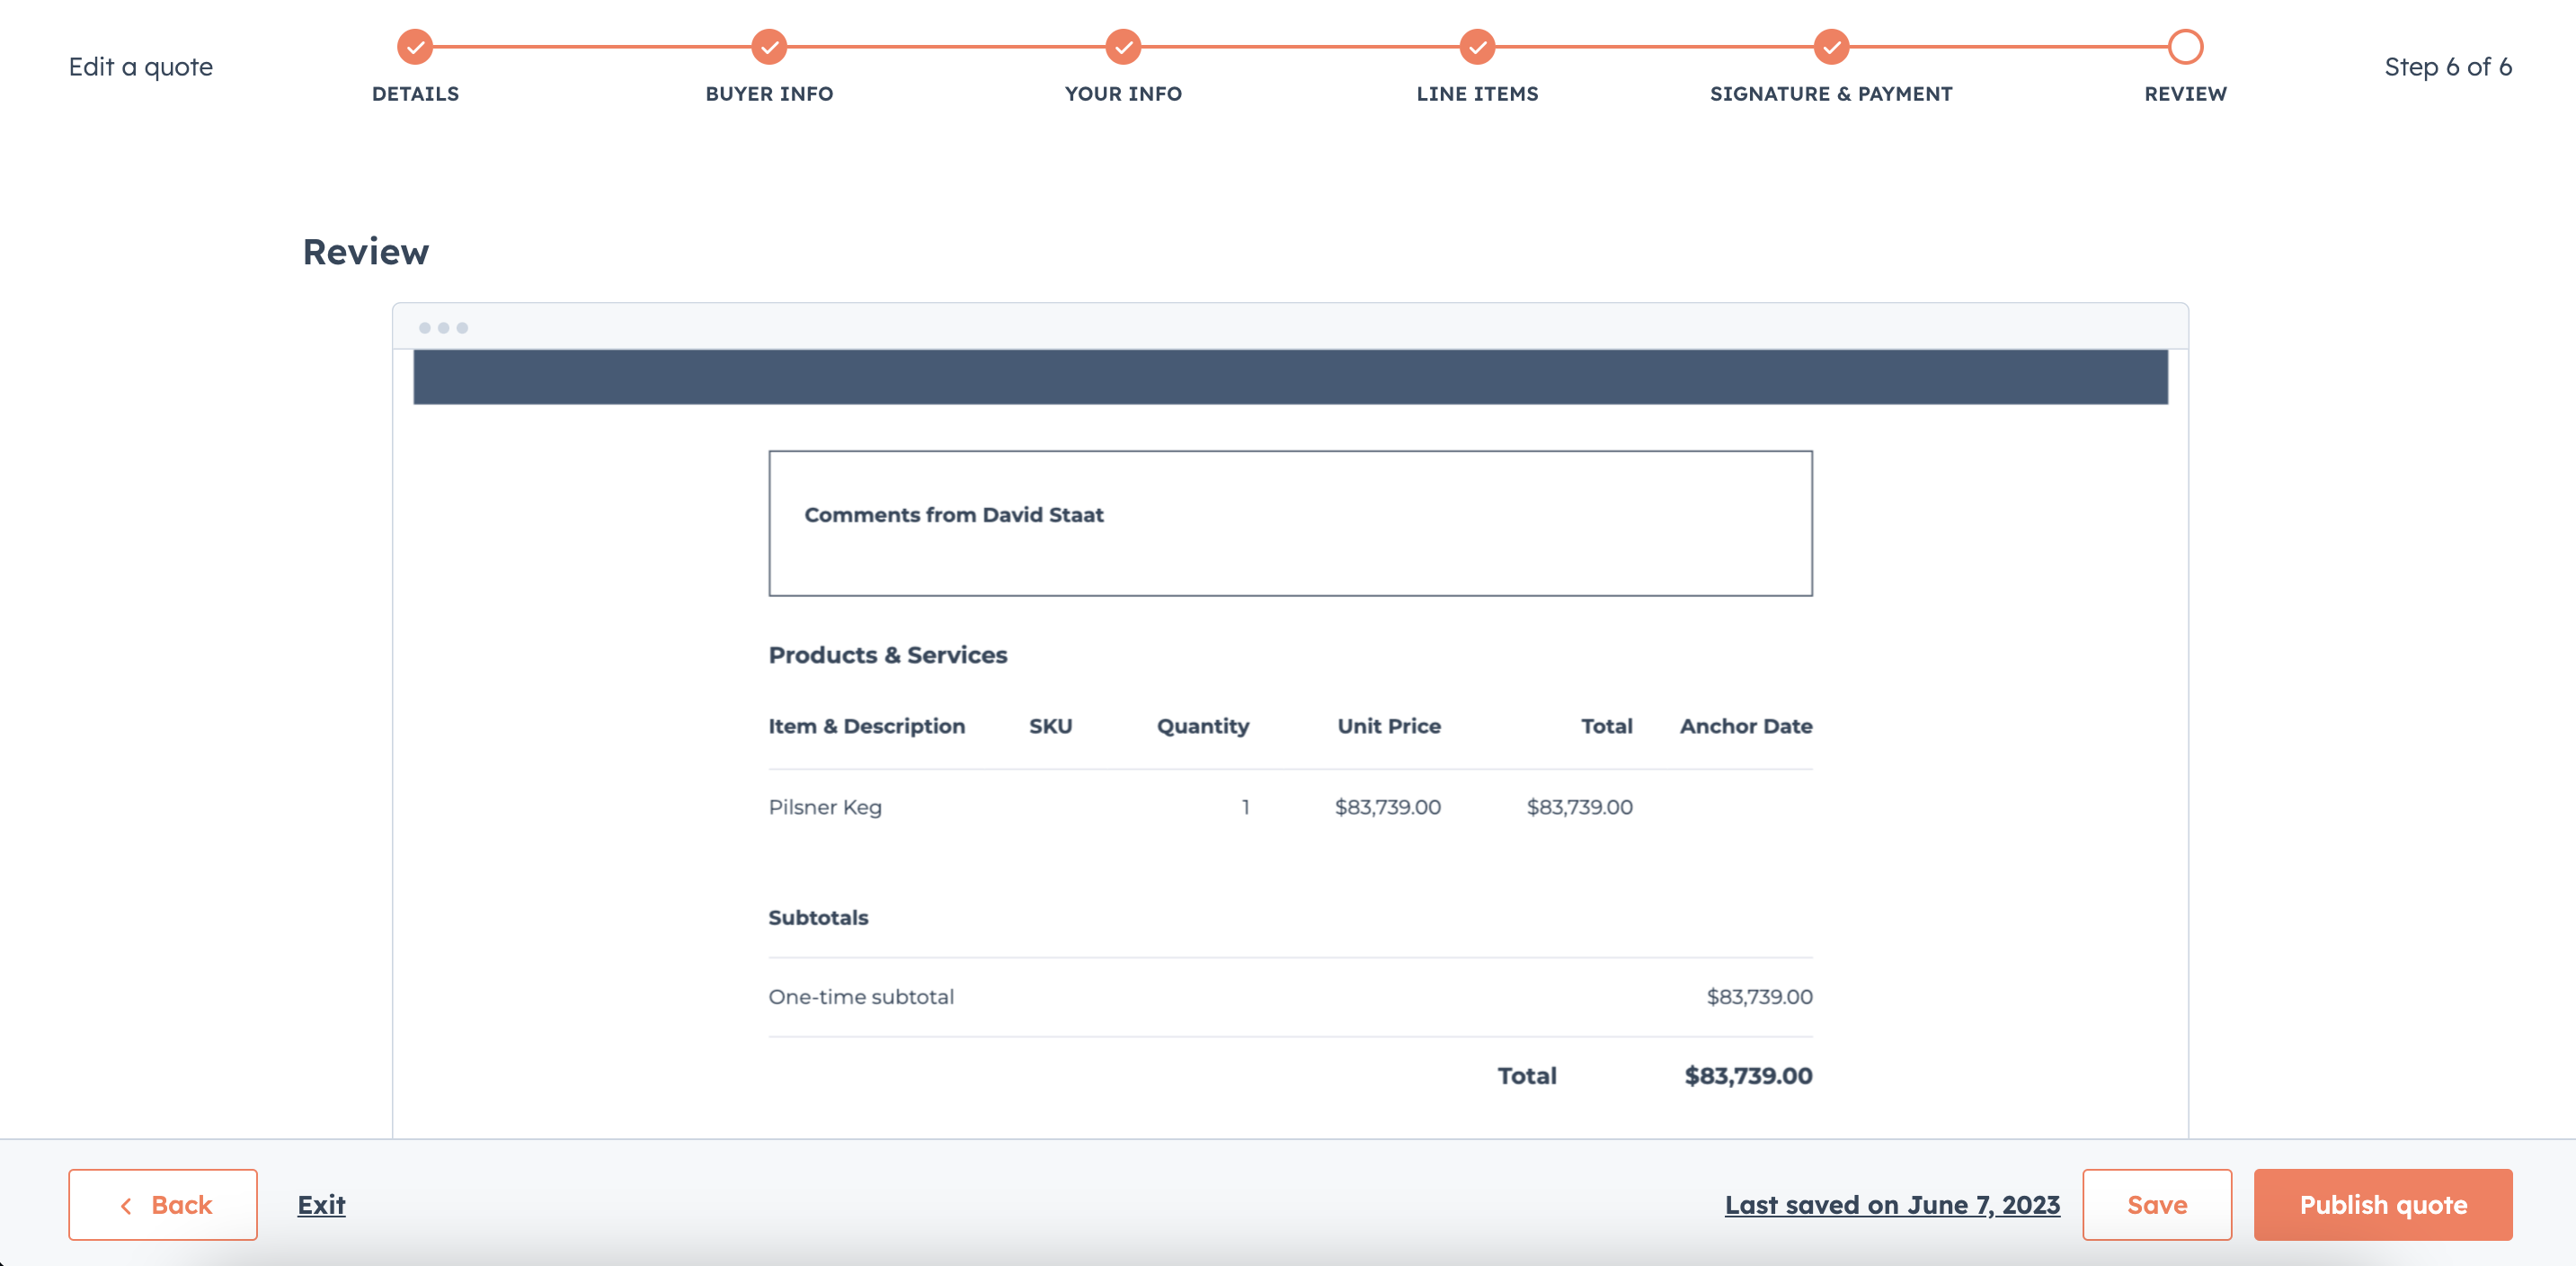
9. Review your work and then click Publish quote when you’re ready!
Whenever a customer pays through this quote, your Stripe will be updated with the payment! Here’s what it looks like:
And you’re done! No need to manually update Stripe. sass•hapily will do it for you! Now you can dedicate all that saved time to other pursuits. Like growing your business or counting how many times I used the word "Products" in this post.
Isn’t that better?
Want to see what else the app can do? Check out this blog post about Managing Stripe Subscriptions in HubSpot With sass•hapily! And be sure to share this post with your friends!