
- Start by creating a Deal based workflow.
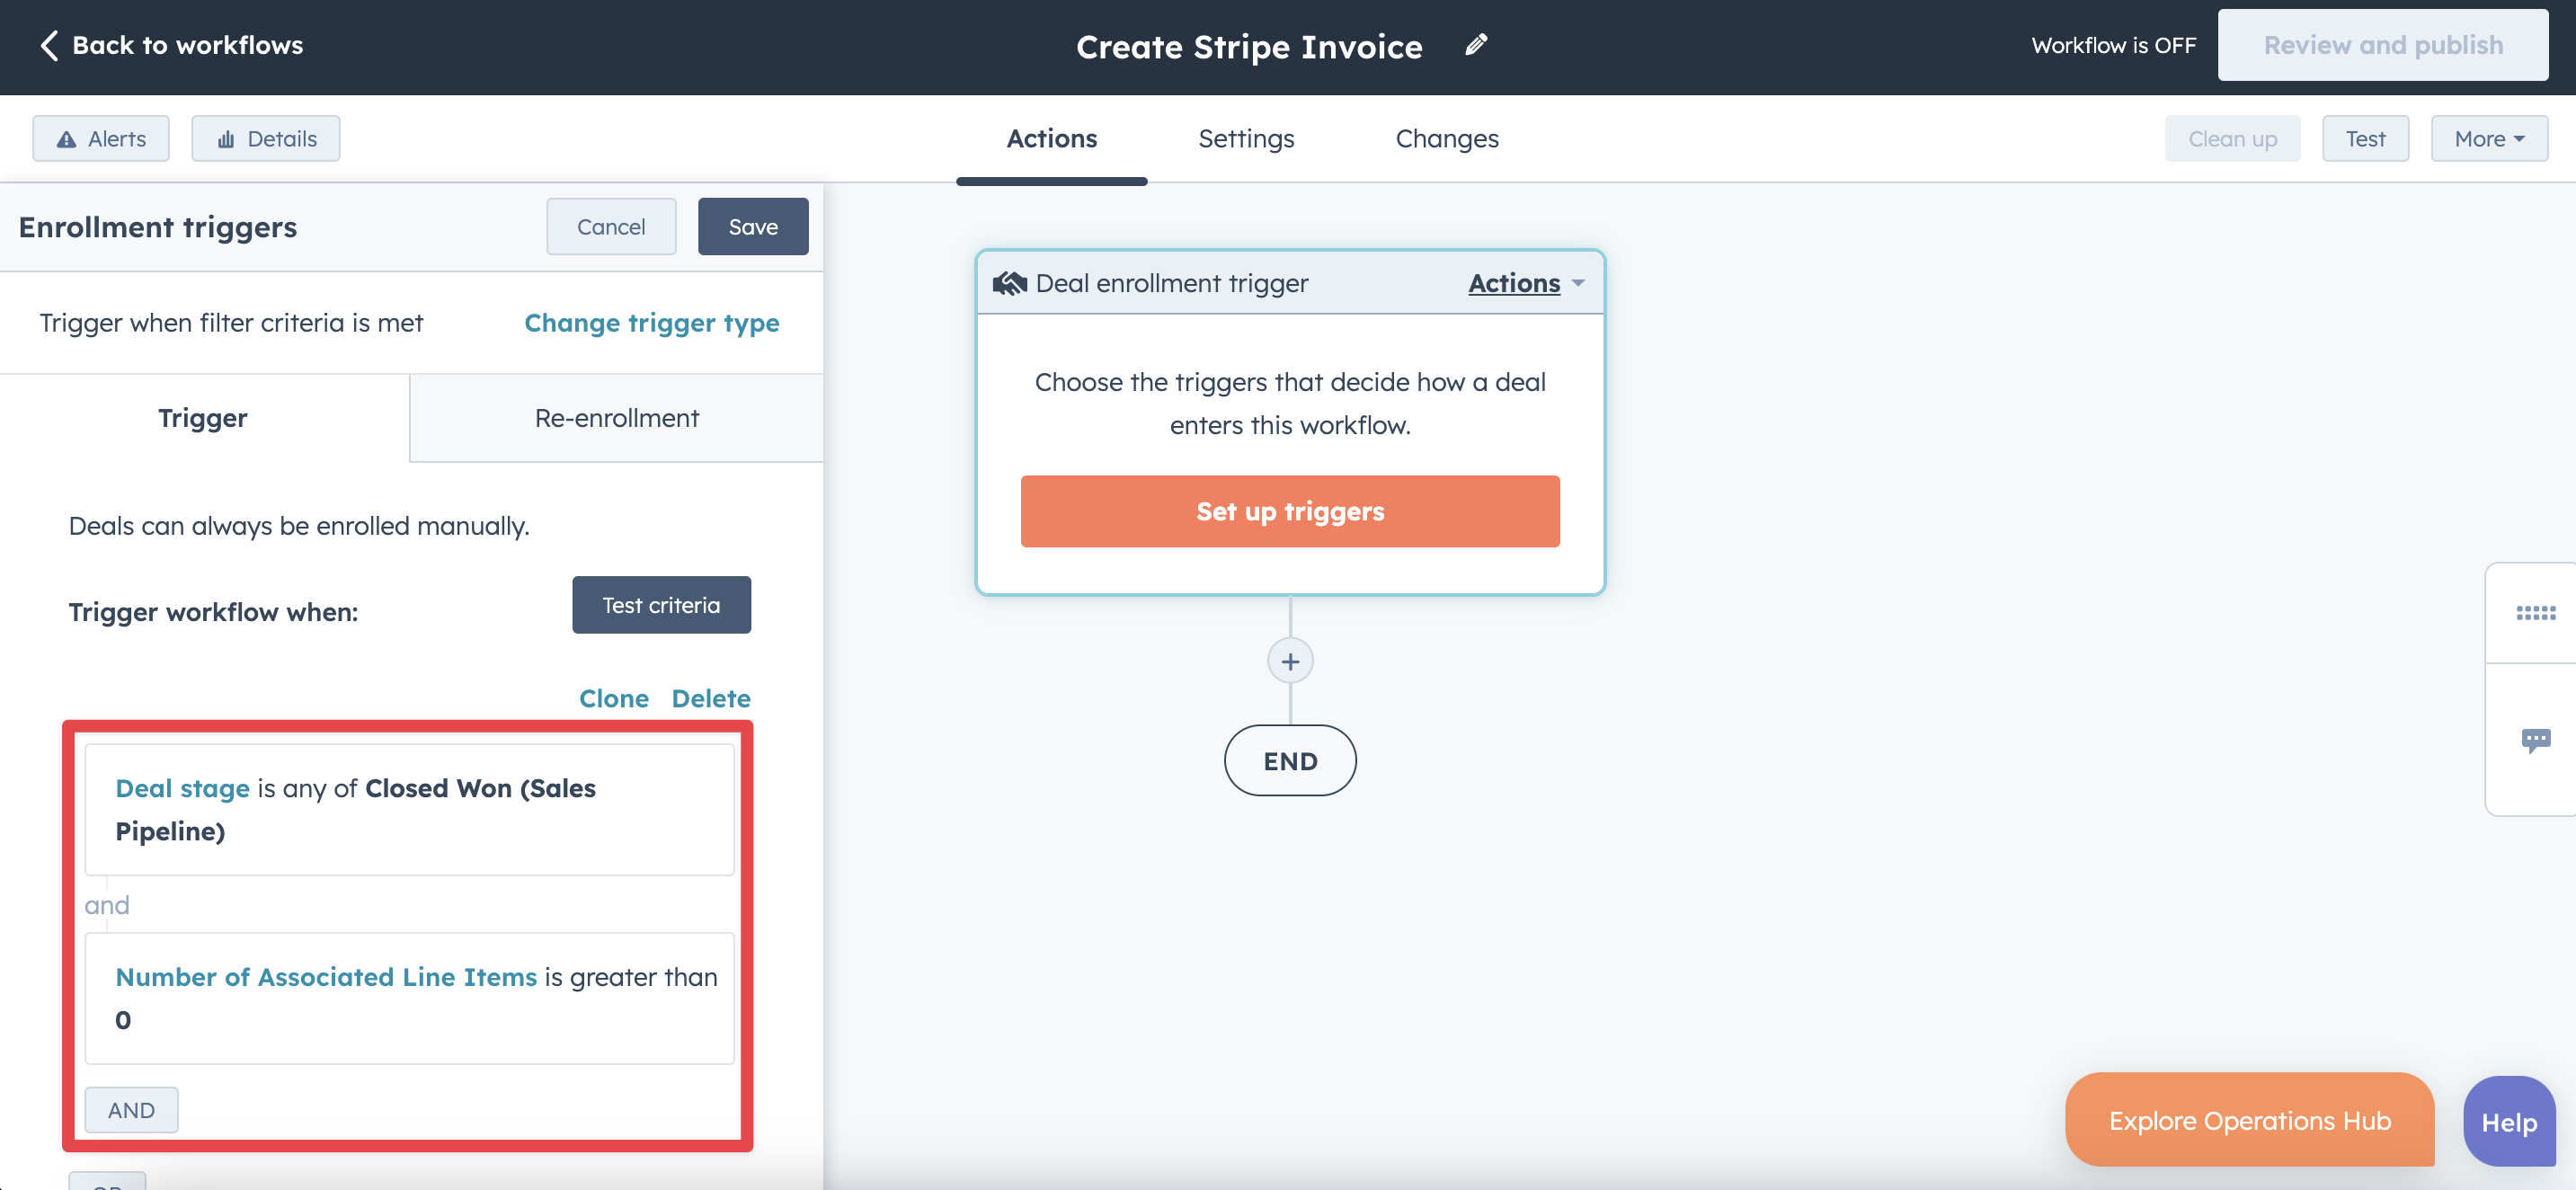
- Setup your enrollment trigger
- Example: Deal Stage is any of Closed Won and Number of Associated Line Items is greater than 0.
- Example: Deal Stage is any of Closed Won and Number of Associated Line Items is greater than 0.
- Click the + button beneath the workflow trigger and select the Create Stripe Invoice action.

- Select which connected Stripe account to create the invoice in.
- Under Customer Email, add the Associated Contact Email token. NOTE: If the deal in this workflow doesn’t have that property filled out with the customer’s email, the workflow will be unable to generate the invoice link.
- Note (Again): This does not automatically send the invoice to the email address. It just allows saas·hapily to find the customer in your Stripe account.
- Under Invoice Link Storing Field, add the deal token of the property you want the invoice link stored in.

- Click Save and you’re done!